I really did. I feel like Jesus must’ve when he turned water into wine.
This was lunch milk 12 hours ago.
Lately I’ve been a bit obsessed with fermentation and cultures. I’m this close to preparing a nuka pot to make my own nukazuke pickles. I had a kombucha culture started but, since our apartment isn’t heated, the temperature in the kitchen was so low that mold actually grew in the culture. Foiled. For now.
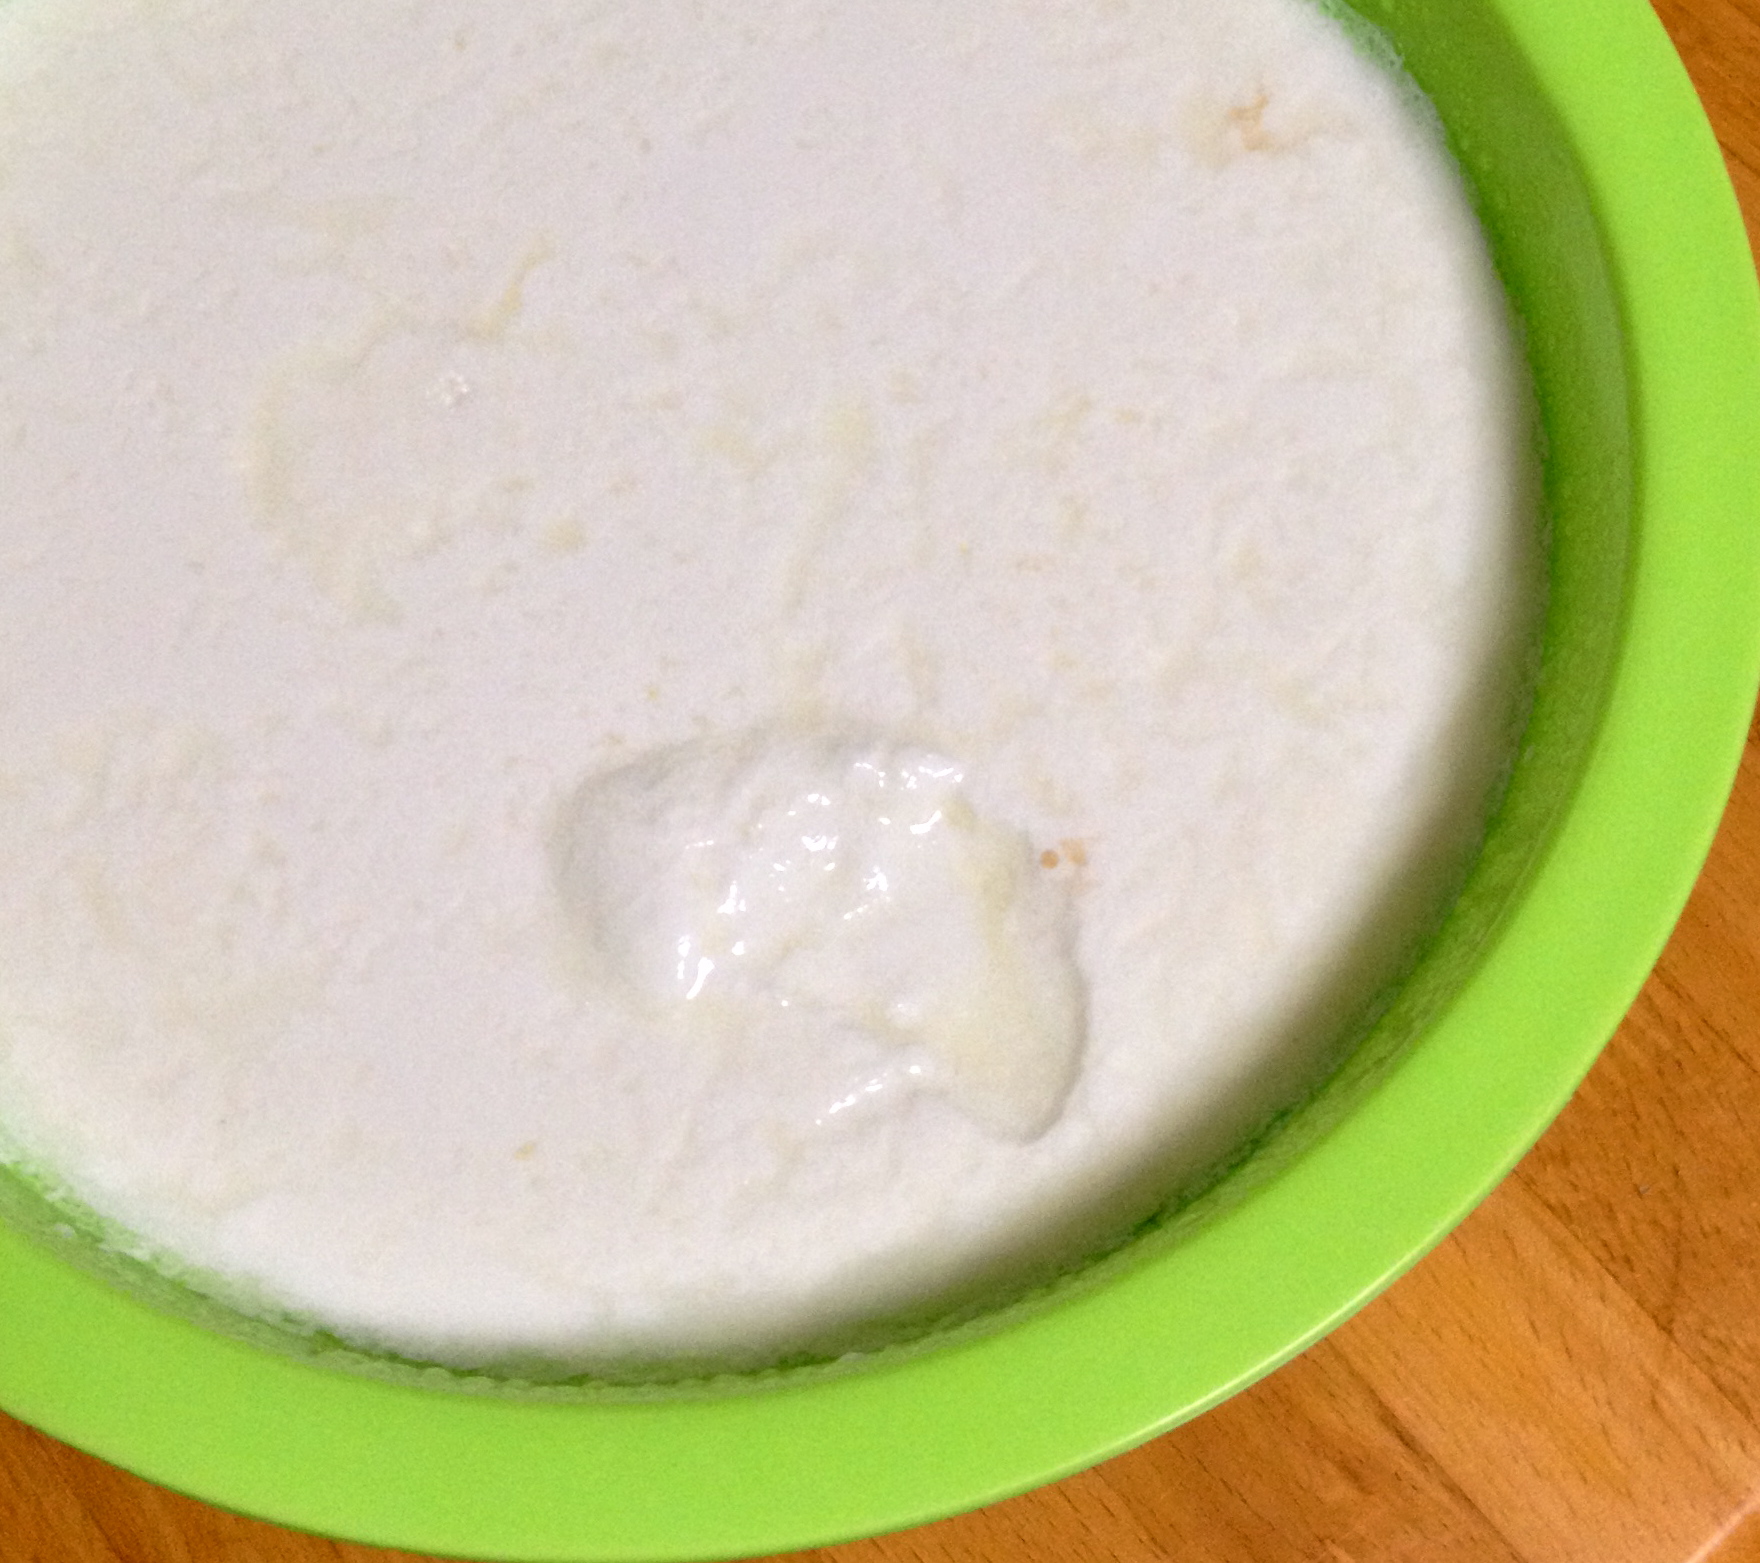
But, last night was a breakthrough. I heated up a liter of milk, stirred in a few spoonfuls of store-bought Meiji Bulgarian Yogurt, and by morning – fresh, creamy yogurt! I can hardly describe the feeling of joy I got when I peeled back the dish towel to reveal a solid, quivering mass where just hours before had been a pool of milk.
In terms of thrift, this project isn’t going to save you much money. I found it to be only slightly cheaper than buying a 450g container of Meiji. A quart of milk costs about 188 yen, but after the straining process, you’re left with about 600g or so. But you do get superior taste and freshness, a bunch of whey (here are some ideas for how to reuse it), and the satisfaction of knowing you have broken just one more link between you and the consumer machine.
And, it’s Friday, which means the school fridge is full of unwanted whole milk containers. I plan to take about 10 of them home to make even more yogurt with tonight. That means this batch will be mostly free!
Update: I made more yogurt with kyushoku milk, and some ricotta cheese, too. It will now be a weekly activity.
If you’re interested in doing the same thing yourself, here are directions:
Materials:
- One to two liters/quarts store-bought milk. For best taste and texture, use whole milk (3.5%). For proper consistency, I’m not sure if you should go lower than 1.6%. I used Midori milk, but you can use anything that says “100%牛乳” or has only milk listed on the ingredient panel. Avoid milk that boasts that it is “ESL” (Extended Shelf Life), as it has been ultra-pasteurized.
- A few tablespoons of “starter yogurt” from the store. The yogurt should have live cultures, so the extra-processed sugary stuff won’t work. I used regular Meiji Bulgarian Yogurt. Since you are essentially cloning your starter yogurt, I would use the most premium, delicious stuff you can find.
- A thermometer.
- (optional) A large thin white cotton dishcloth (clean) for draining the yogurt.
- Damp dish towel.
- Large mixing bowl.
- Large saucepan.
- A “warm” place to keep your yogurt bowl overnight. As Jennifer Reese says, “Don’t obsess too much about the warm place.” Inside your oven or microwave is fine.
Directions:
- Scald the milk: Heat the milk in a saucepan over medium heat, stirring now and then so the milk doesn’t stick to the pan. When the milk just begins to simmer, remove from heat and pour into mixing bowl. Insert thermometer.
- Let the milk cool to somewhere between 105 – 115 degrees F (41 – 46 C). Then, stir in two or three spoonfuls of starter yogurt.
- Cover the bowl with a damp dishcloth and put into a warm place for the night. I turned the oven feature of my microwave on for 5 minutes, then turned it off and put the bowl inside. (I’d be willing to guess that the kitchen table is fine during Japanese summer – just secure the top so bugs don’t get in).
- Go away for several hours; how much seems to vary. At least 8 and as much as 24. I personally like 12.
- Come back. Remove the bowl and behold the magic of yogurt! Store in an airtight container in the fridge for up to 10 days.
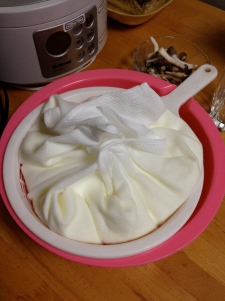
The yogurt will be slightly thinner than you’re used to, because it’s full of whey (the liquid by-product or milk culturing); it’ll thicken up slightly in the fridge. If you like runny “Australian style,” then you’re done. But if you’re into thicker Greek stuff, you need to drain the yogurt like this:
- Line a strainer with cheesecloth or the large white dishcloth. Position the strainer over a larger bowl or saucepan so that the bottom is suspended.
- Pour the yogurt over the cloth. You can tie the ends up around it into a little bundle if you like. Let the yogurt sit like that to drain until it is as thick as you’d like – anywhere from 30 minutes to 3 hours is the norm.


The longer you let the yogurt drain, the thicker it becomes. You could even let it drain a full 8 hours and then squeeze it until it becomes the consistency of soft cheese; this is sometimes called labneh.
As for me, I’m going to enjoy my delicious yogurt in some salad dressing tonight, and with some oatmeal and fruit tomorrow morning. Or maybe in some Indian curry soup. The supply, for now, looks to be never-ending.
